Introduction
Whether you are applying for a university program, submitting documents to a government portal, or uploading identification cards to a job recruitment website, you will likely encounter a strict file upload limit. One of the most common warnings is: "Maximum file size exceeded. Image must be under 100KB (or 200KB)."
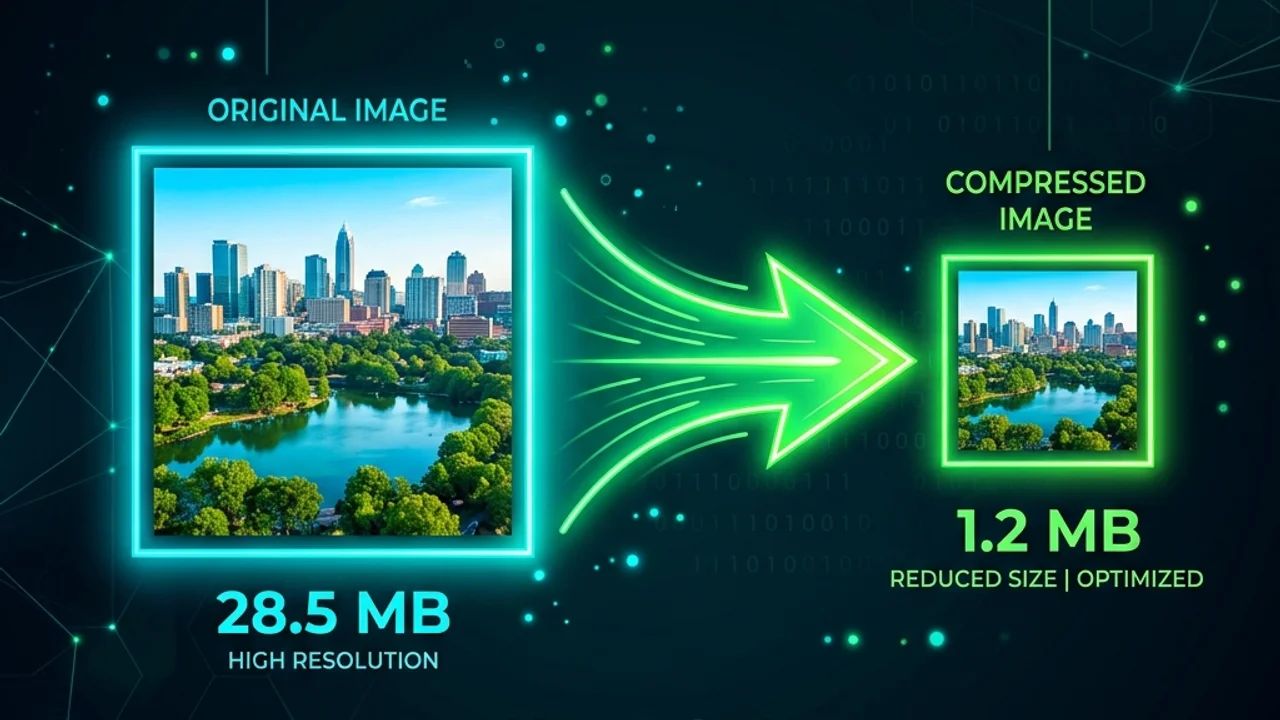
Because modern smartphones capture images at resolutions of 12 megapixels or higher, a single photo usually starts at 3MB to 10MB in size. Simply uploading the original file will fail. However, if you blindly shrink the image using basic tools, the text can become unreadable, or your face might turn into a blurry, pixelated mess, potentially leading to document rejection. In this guide, we will discuss how to compress images to under 100KB while preserving high visual clarity, explaining the key principles and step-by-step methods to achieve this in your browser.
Image Compression Formats and Settings
To compress files efficiently, you must select the right image format (extension) based on what the image contains. Using the wrong format can result in bloated files or heavily degraded quality.
1. JPEG: The Standard for Photos
JPEG is a lossy format that discards subtle color variations that the human eye cannot easily distinguish.
- The Compression Sweet Spot: Setting the export quality slider to
60% to 80%is the ideal "Goldilocks Zone." This reduces the file size by 80% or more while keeping the image looking clean and crisp. - Warning on Re-saving: JPEG compression is cumulative. Every time you open, edit, and re-save a JPEG, more pixels are discarded, leading to artifacts (blocky distortions). Always keep your original file as a backup and edit from that.
2. PNG: The Standard for Graphics
PNG is a lossless format, meaning it preserves every pixel exactly. However, this comes at the expense of a much larger file size.
| Format Type | Color Depth | File Size Profile | Best Use Case |
|---|---|---|---|
JPEG |
24-bit (16.7M Colors) | High compressibility; variable file sizes | Photos, portraits, scanned documents |
PNG-8 |
8-bit (Max 256 Colors) | Very small; uses a limited color index | Simple logos, single-color icons, line art |
PNG-24 |
24-bit (16.7M Colors) | Very large; no lossy compression | Graphics requiring smooth transparency gradients |
For passport photos, portraits, or ID scans that need to be under 100KB, converting the file to JPEG and compressing it to 70% quality is the most effective approach.
Step-by-Step Guide to Under 100KB Compression
Here is the safest and most efficient workflow to optimize your photos directly in your web browser.
Step 1: Reduce Resolution (Dimensions)
Camera files often have massive dimensions like 4000 x 3000 pixels. For standard web uploads, a width of 1000px to 1200px is more than enough for high-definition display. Scaling down the dimensions first will immediately slash the file size by 70% without reducing quality.
Step 2: Use a Client-Side Compressor (For Privacy)
When uploading personal documents (like driver's licenses, passports, or tax forms), avoid online converters that upload files to their servers. Instead, use local, client-side tools. These process files entirely inside your browser's memory, meaning your private data never leaves your device.
- Navigate to the Toolhub Image Compressor tool.
- Select your photo or drag and drop it into the conversion area.
- Adjust the quality slider until the estimated file size drops below
100KB. - Inspect the real-time preview to ensure the details remain clear, then click [Download].
FAQ & Troubleshooting
Q. The text on my scanned document is blurry after compression. How do I fix this?
For text-heavy scans, do not shrink the pixel dimensions too much (keep width at 1500px or higher). Instead, convert the image to Grayscale (black and white) to discard color weight, and set a tight JPEG compression ratio of 60%. This preserves sharp contrast on the text edges while keeping the file size small.
Q. My file is still over 100KB even after compression. Why?
Some images contain hidden metadata (Exif data) detailing GPS location, camera settings, and timestamps, which add weight. The Toolhub Image Compressor automatically strips out this metadata. If the file is still too large, reduce the width and height of the image by another 20% to 30% and try again.
Call to Action & Recommendations
If you need to compress private documents to under 100KB quickly and securely, use our free local browser compressor:
- Our Tool: /en/tools/image-compress - Free Local Image Compressor with 100% Data Privacy.
Related Guides
- /en/blog/image-compression-guide - Web Image Optimization Guide: How to Reduce Image Size Without Quality Loss
- /en/blog/social-media-image-size-guide - Standard Social Media Image Sizes for Instagram, YouTube, and LinkedIn
- /en/blog/javascript-client-side-image-compression - Implementing Client-Side Image Compression with JavaScript Canvas