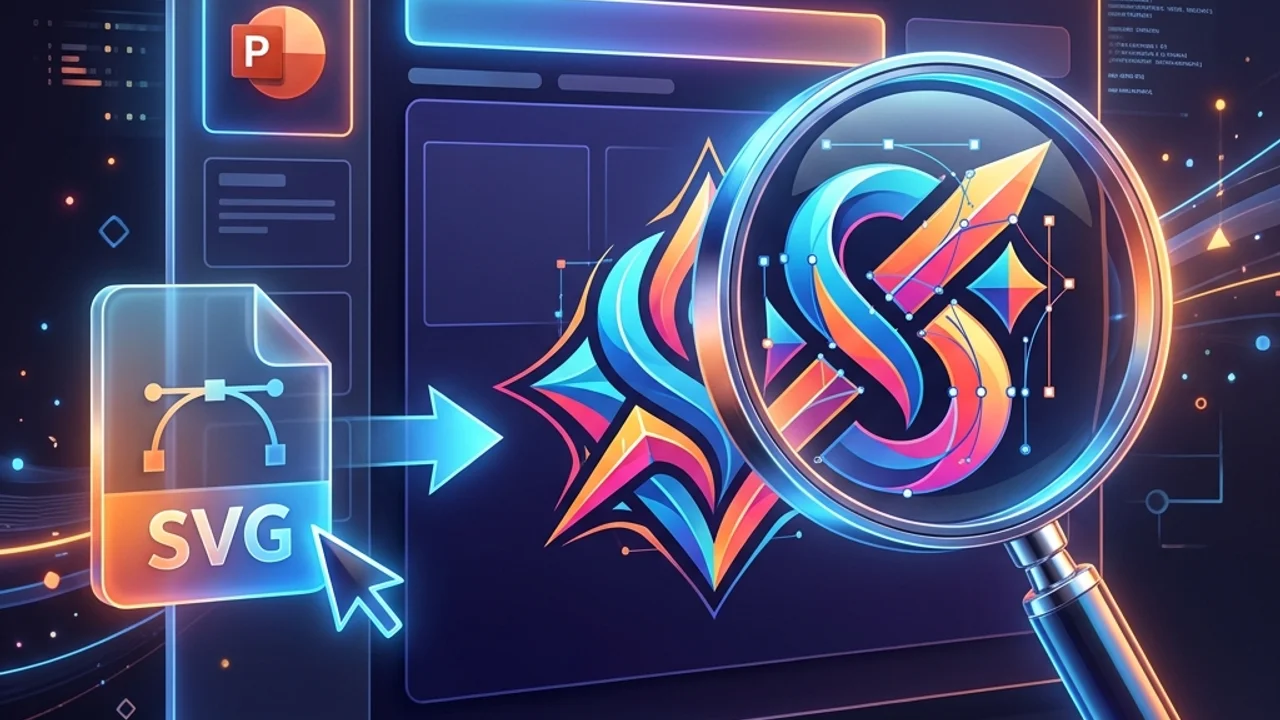
When building pitch decks or client-facing slide presentations, blurry logos or pixelated icons can instantly ruin the professional look of your document. To prevent this, many practitioners insert vector-based SVG files directly into PowerPoint (PPT) slides, expecting them to remain crisp at any scale.
However, many users experience a frustrating issue: after inserting an SVG, the graphics appear blurry or pixelated when presented in Slide Show mode or exported to a PDF. Why does a vector format lose its sharpness? In this guide, we will analyze the root causes of blurry SVGs in PowerPoint and provide solutions to keep your presentations looking crisp.
1. Why Do SVGs Look Blurry in PowerPoint?
SVGs are XML-based vector graphics, meaning they contain mathematical paths and have no set resolution. Therefore, they should never look pixelated. The blurriness inside PowerPoint is caused by how the Office rendering engine processes external vector formats.
The most common cause is copying and pasting or dragging and dropping the graphic onto the slide. This forces the OS clipboard to rasterize the vector data into a low-resolution PNG before inserting it. Another cause is PowerPoint's built-in image compression, which runs automatically when saving to shrink file sizes. Lastly, if an SVG contains complex filters (such as shadows, gradients, or masks) that PowerPoint's renderer cannot compute, it will convert the SVG into a low-resolution raster backup image.
| Blurriness Cause | Rendering Result | Resolution / Solution |
|---|---|---|
| Copy-Paste Clipboard | Converts to a low-res bitmap, causing jagged edges | Do not copy-paste. Always use the Insert > Pictures menu. |
| Auto-Image Compression | Limits file quality to 150 DPI upon saving | Check "Do not compress images in file" in PPT Advanced options. |
| Unsupported SVG Filters | Falls back to low-quality raster image rendering | Simplify SVG paths and remove complex CSS filters. |
| Legacy Office Versions | Fails to recognize the SVG format entirely | Convert vectors to EMF (Enhanced Metafile) format before inserting. |
2. 3 Rules to Maintain Vector Quality in PowerPoint
Follow these three steps to keep your graphics looking sharp, even when zooming in or using Morph transitions:
Rule 1: Always Insert via the Menu (Avoid the Clipboard)
Copying (Ctrl+C) an icon from an illustrator program and pasting (Ctrl+V) it onto your slide almost always rasterizes the vector data.
- Solution: Save the SVG file to your local drive first. In PowerPoint, go to Insert > Pictures > This Device and select the file. This forces PowerPoint to import it as a native, scaleable vector asset.
Rule 2: Disable Automatic Image Compression
PowerPoint automatically compresses images to keep slide file sizes small. You should disable this feature to protect vector quality.
- Solution: Go to File > Options > Advanced. Scroll down to the Image Size and Quality section. Check the box for "Do not compress images in file" and set the "Default resolution" dropdown to "High Fidelity".
Rule 3: Use EMF (Enhanced Metafile) for Universal Compatibility
If you are collaborating with users on older Office versions (Pre-Office 365) or if complex SVGs render incorrectly, convert your vectors to the EMF format.
- EMF Advantage: Once an EMF file is inserted into PowerPoint, you can right-click it and select "Group > Ungroup" twice. This converts the vector graphic into native PowerPoint shapes that you can recolor and edit directly in the slide.
3. Frequently Asked Questions (FAQ)
Q1. Why do SVGs look blurry during slide transitions or zoom animations?
PowerPoint's animation engine sometimes pre-renders vectors as flat pixels at their starting scale to improve rendering performance. If you plan to zoom in on an SVG using the Morph transition, scale the SVG to its maximum size on the starting slide to force the engine to render it at high resolution.
Q2. Why does my SVG show up as a red "X" or a broken image icon?
Older versions of Office (PowerPoint 2016 and older) do not natively support SVGs. If you are sharing slides with someone on an older version of Office, convert your SVGs to high-resolution PNGs or EMF files to ensure they render correctly.
4. Converting Vector Assets Securely
If you need to convert vector logos to lossless PNGs for web publishing, or if you need to optimize your slide assets, try our free client-side SVG Converter. Your files are processed locally in your browser sandbox without being uploaded to remote servers. To learn more about handling cross-origin issues with canvas exports, read our SVG Canvas CORS Taint Error Resolution Guide blog post.